 Roles
and Permissions
Roles
and Permissions
Overview
Capriccio Fuzion uses Role based security to give users access to only the information that they need without divulging sensitive company information unnecessarily.
Assigning Roles and Permissions
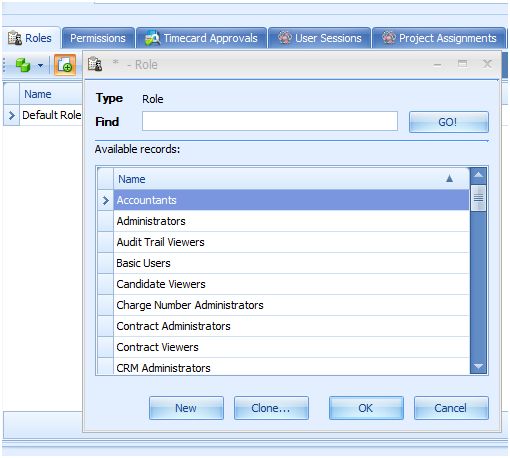
1) Each user will have to be assigned a Role
(which comes with a set of permissions), or a set of Roles (multiple
permissions).
2) For users who will only be utilizing the
web version, the “Web Only User” checkbox will be selected. This checkbox
will automatically assign the Web Only Users role to the current user and
give them access to only the web version.
3) Roles can be
added to a user by clicking on the green plus, new icon located under the Roles
Tab.
4) For users who will need access to the
entire application, the “Administrators Role” will be
selected.
5) For users who will need to see all timecards in
the entire organization, the “Timecard Administrators” Role will be
selected.
6) For users who will need to see all charge
numbers in the entire organization, the “Charge Number Administrators” Role will
be selected.
7) For users who need to be locked down and
then added only specific permissions for designated areas of the software, the
“Default” Role will be selected.
8) “Model
Administrators” should only be added to users that need to make global changes
in the organization's model. This role should only be applied to the
Administrator account when needed.
9) Upon selection of
appropriate Roles, you can click the “Save and Close” icon located in the ribbon
bar at the top of the application (or shortcut on keyboard – “ctrl” and
“enter/return”).